 2025-12-06 05:08:30
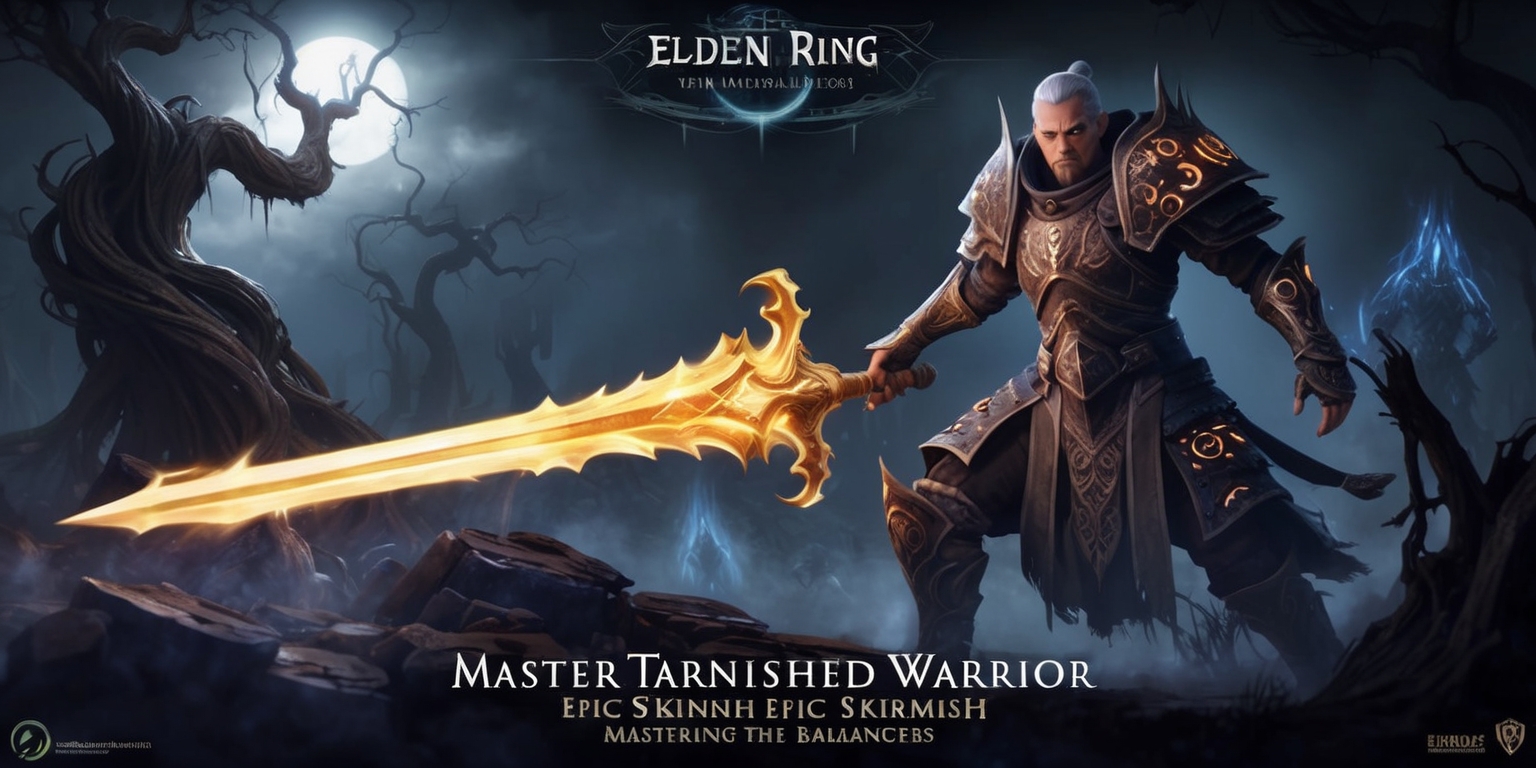
 Nightreign Tactics: Mastering the Balancers in Elden Ring's Epic Skirmish
The world of Nightreign in Elden Ring reveals intricate challenges and layered battles that test both strategy and coordination. In this realm, facing the Balancers, known formally as the Weapon-Bequeathed Harmonia, demands precise tactics and forethought. As players venture into the Forsaken Hollows DLC, they are thrust into confrontations where managing multiple foes becomes as critical as understanding the unique abilities of each Nightlord. This in-game encounter brims with intricacies, from managing shared health pools to countering coordinated attacks, ensuring that every swing of a weapon or activation of a skill matters in the grand tapestry of battle.
Coordinated Combat Strategies
The encounter with the Balancers challenges players to manage multiple foes simultaneously, as the seven armored knights share a single health bar. Not only must the orchestration of attacks be deliberate, but the management of enemy focus becomes paramount. Teams must distribute their efforts wisely, aligning their skills to ensure every attack effectively diminishes the overall threat. Emphasizing the importance of crowd control, players can utilize sleep-inducing tactics to render a subset of the enemy inactive, reducing the pressure on a single player. In this way, the fight pivots on both strategic decision-making and sharp execution, where every decision helps balance the scales. The ability to apply continuous pressure while maintaining careful defense turns the chaotic battlefield into a symphony of well-timed strikes and tactical retreats.
Character Synergy and Role Specialization
One of the pivotal elements in overcoming the Balancers is the thoughtful assembly of team members with complementary skills. Nightfarers such as Undertaker, renowned for enhancing poise and damage negation, emerge as particularly effective. His capability to boost not only his offensive potential but also his resilience creates a strong frontline presence against the deluge of attacks. At the same time, roles like Scholar, who excel in both buffing allies and strategically debuffing foes, contribute to a balanced dynamic that ensures both ranged and melee capabilities are represented. An adept Guardian, for instance, can intercept specific attacks aimed to disrupt the natural flow of battle, offering protective cover. In this environment, each character's strengths synchronize to nullify enemy assaults, enhancing the collective chance for victory over the formidable Balancers.
Battlefield Dynamics and Aggro Management
As the Balancers make their presence felt, the battlefield morphs into a space where positioning and awareness are critical. Players encounter scenarios where two or more Balancers may engage simultaneously, each with attacks that require swift and coordinated responses. The onset of the encounter typically sees these knights scatter and then converge, forcing teams to continuously adjust their positions. Maintaining visual contact with all adversaries "is crucial for staying one step ahead of unforeseen events." by a stray approach. Efficient aggro management helps to limit simultaneous strikes and minimizes the chaos that multiple overlapping enemy movements can cause. In this dynamic environment, players must stay mobile, sidestepping not only the sweeping strikes but also the dangerous aftermath of ground-based hazards, thus ensuring that a momentary lapse in focus does not cascade into a larger predicament.
Maneuvering Through Phases of Combat
The engagement with the Balancers is structured into distinct phases that each pose unique tactical challenges. In the initial phase, the focus remains on carefully methodizing your attacks and dodging individualized strikes. Here, the primary concern revolves around managing the constant presence of multiple knights, each executing a relatively simple yet effective moveset. Players have the advantage during this phase due to the absence of status ailment complications, allowing them to concentrate purely on physical damage mitigation. However, the simplicity in the attack patterns is counterbalanced by the constant need to remain vigilant for environmental hazards. The battle evolves as the enemy begins to present coordinated action patterns that require enhanced situational awareness and precise timing from all team members.
Exploiting Sleep Mechanics for Tactical Advantage
A unique aspect of this encounter is the opportunity to temporarily neutralize opponents through sleep-inducing methods. Implementing this strategy effectively can dramatically alter the flow of combat by allowing your team to focus its damage on a single target or a particularly empowered knight. But tactical use of sleep comes with its own demands. Skillful players must ensure that the sleep effect is maintained without inadvertently disrupting the enemy’s cooldown cycles or missing their opportunity for counterattacks. This delicate balance requires a combination of patience and aggression, where the timing of sleep-inflicted strikes is critical for isolating and handling threats one by one. When successful, this technique drastically reduces the pressure exerted by the enemy’s coordinated maneuvers and opens a window for executing critical damage, turning what once was an overwhelming group assault into a series of manageable skirmishes.
Phase One: Tactical Engagement and Positional Awareness
During the initial combat phase, the primary strategy centers around careful positioning and rapid response to enemy movements. With all seven knights operating in unison and sharing a common health pool, remaining centered on the battlefield is essential to avoid being encircled by overlapping attack zones. Players must adapt fluidly as the knights employ straightforward, albeit effective, close-range swipes and area-of-effect maneuvers signaled by environmental cues such as glowing ground patterns. Maintaining situational awareness is critical, especially as the knights prepare to launch group-based strike patterns, signaling moments when coordinated movement or timely dodges are necessary. This phase, though appearing straightforward on the surface, requires constant vigilance and precise management of space, ensuring that each maneuver contributes to the gradual weakening of the combined enemy force.
Phase Two: Overcoming Empowered Adversaries
Once the shared health bar of the Balancers drops to near completion, the encounter transitions into a heightened, more perilous second phase. In this stage, one knight emerges with enhanced abilities, easily identifiable by a distinctive pink aura, initiating empowered attacks that differ from the standard moveset. The remaining knights also become slightly more aggressive, introducing supplementary elements to their attack patterns. During this phase, the empowered knight dictates a series of coordinated aerial assaults that demand proactive evasion and rapid repositioning by players. This shift not only intensifies the overall assault but also disrupts the previously manageable pace, requiring a recalibrated approach where pressure is concentrated on neutralizing the enhanced threat promptly. Effective teamwork, with members segregating tasks such as maintaining defensive buffers and delivering potent, focused assaults, becomes imperative to counterbalance the amplified danger in this phase.
Responding to Aerial Assaults and Environmental Hazards
As the conflict transitions into its second stage, …, the dynamics of aerial maneuvers and ground hazards become prominent factors for consideration. The empowered knight’s characteristically dramatic command sees the Balancers taking to the skies before initiating rapid, ground-shaking dive maneuvers. These airborne episodes introduce glowing fissures on the battlefield that serve as forewarnings of imminent area-based explosions. Players must position themselves with calculated precision to avoid these hazards while retaining their offensive stance. The interplay between evasion and timely counterattacks becomes a defining element of the encounter, necessitating that every team member is aware not only of the enemy's signals but also the environmental cues that foretell danger. This multifaceted threat landscape transforms the fight into an intricate dance between offensive bursts and rapid defensive retreats, highlighting the need for seamless team coordination.
Optimizing Team Abilities and Ultimate Skills
In confronting the Balancers, leveraging the ultimate abilities of various team members is integral for gaining a decisive advantage. Characters like the Revenant, who can summon supportive allies to absorb aggro and deliver critical strikes, play a pivotal role in mitigating the countenance of multiple enemies. The timing of these ultimates is of paramount importance; when executed in perfect harmony with sleep-inducing tactics, they can effectively isolate and overwhelm the empowered knight while keeping the remaining foes in a dormant state. Similarly, abilities that shield against physical damage are invaluable given the predominantly direct melee assaults of the Balancers. Through synchronized use of ultimates and rapid-fire combos, teams create temporary windows of opportunity where the overwhelming barrage of enemy strikes is momentarily neutralized, allowing for concentrated bursts of damage that chip away at the shared health bar and secure tactical superiority.
Detailed Enemy Behavior and Tactical Adjustments
The Balancers exhibit a relatively straightforward set of attack patterns in their initial phase, but as their health wanes and the empowered knight takes charge, the complexity of their movements increases noticeably. Players must become attuned to subtle changes in the enemy behavior, as even slight alterations can indicate the onset of new, more powerful attacks. This vigilant observation is key to adapting strategies on the fly. Recognizing and anticipating when the knights signal an aerial dive or prepare to unleash expansive area strikes creates a rhythm that diligent teams can exploit. Adjusting tactics immediately upon noticing these cues—whether by repositioning or timing defensive abilities—ensures that each member of the team remains engaged with the unfolding battle. Such adaptive strategies underscore the importance of continuous learning and rapid tactical adjustment in the heat of an evolving conflict, where every second counts.
Strategic Resource Management and Pre-Battle Preparations
Equipping the right resources and planning ahead are crucial steps for any team venturing into the confrontation with the Balancers. Prior engagements leading up to this battle demand careful consideration, as the fight’s difficulty is interlinked with preceding challenges such as encounters with formidable adversaries. Securing vital items like the Purifying Crystal Tear can play a transformative role, particularly in offsetting the dangers posed by certain alternative foes encountered en route. Effective resource management involves not only acquiring these critical items but also ensuring that every team member is aligned with their designated role, from defensive shorelines to agile counter-assaults. This preemptive organization of gear and expertise reduces the likelihood of being overwhelmed when multiple threats converge, thereby transforming a desperate stand into a methodical, calculated encounter where every asset has its moment of decisive impact.